You should have a really basic knowledge of how to use Tinkercad — it’s one of the easiest 3D programs out there to build your own stuff, and it’s free!
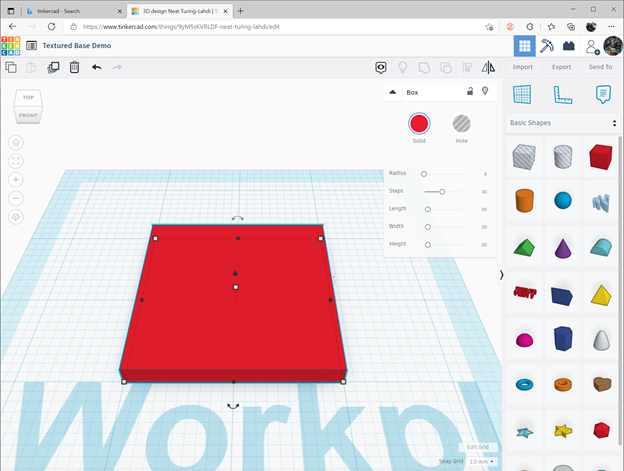
Go to https://www.tinkercad.com and login or create an account. On the main menu, click Create a Design.
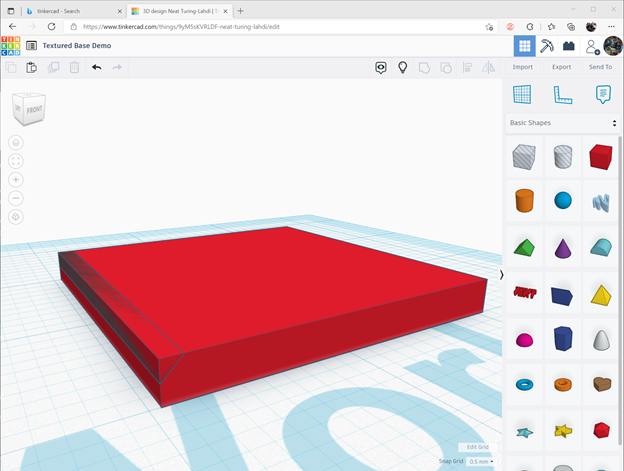
Once the editor opens, place a solid box on the workplane by dragging it from the objects on the right. The box defaults to 20x20x20mm. I like my bases to be 2mm thick, so drop it down to 2mm using the handle. I also like my bases chamfered. If you don’t, skip down to Adding the texture.
Add the wedge, and make it 20x1x1mm, and rotate it 90 degress so the diagonal can be placed against the edge of the base.
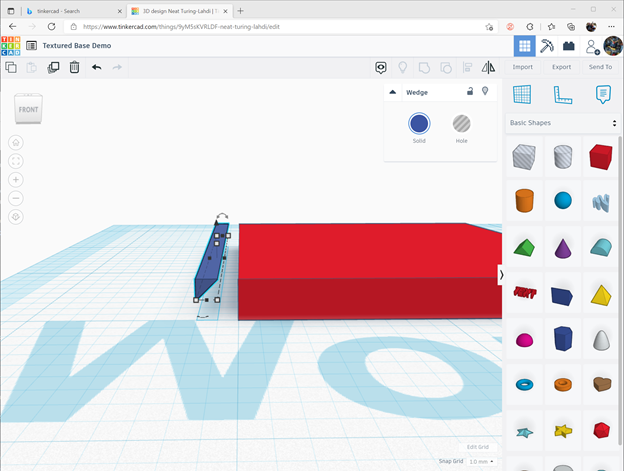
Make this wedge a hole by clicking on Hole. It will turn the wedge translucent. This object now will cut anything it touches when you use Tinkercad’s group button.
Shift it over so it’s sitting on the base. You should see it’s outline on the base. It may look funny where it intersects, don’t sweat it.
Copy this object three times, and rotate them into place on the other edges.
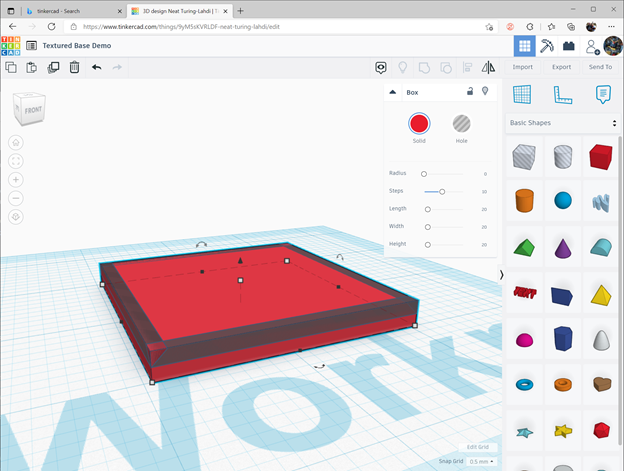
Select all the objects and click Combine. Voila, chamfered base.

Adding the Texture
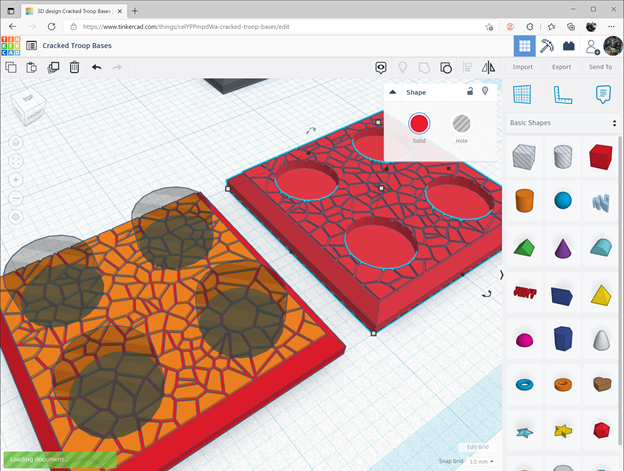
Ok, now the magic part. Click where it says Basic Shapes (dropdown) and select Shape Generators. Click the brown looking thing that looks like cracked ground and then drag the texture to the worksplane. You’ll see the texture being previewed. Drop it somewhere.
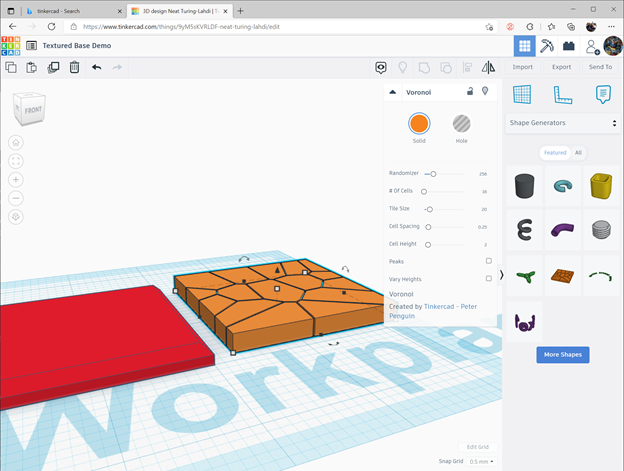
Change the size of the texture to 17.6×17.6×0.3mm, raise it up 2mm off the workplane, then slide it over the base and center. You’ll want to change Snap Grid to 0.1mm to make it easier to center in place.
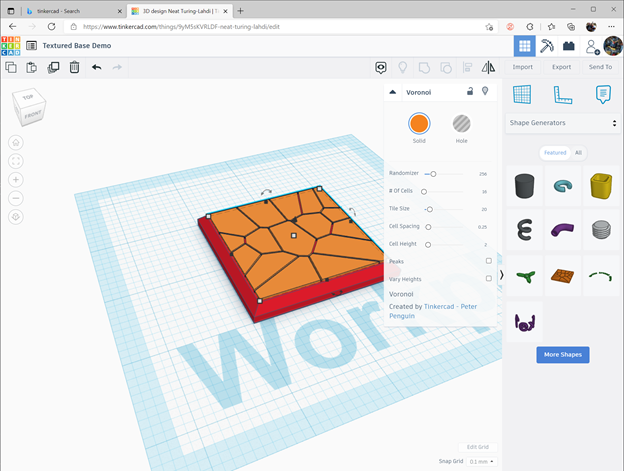
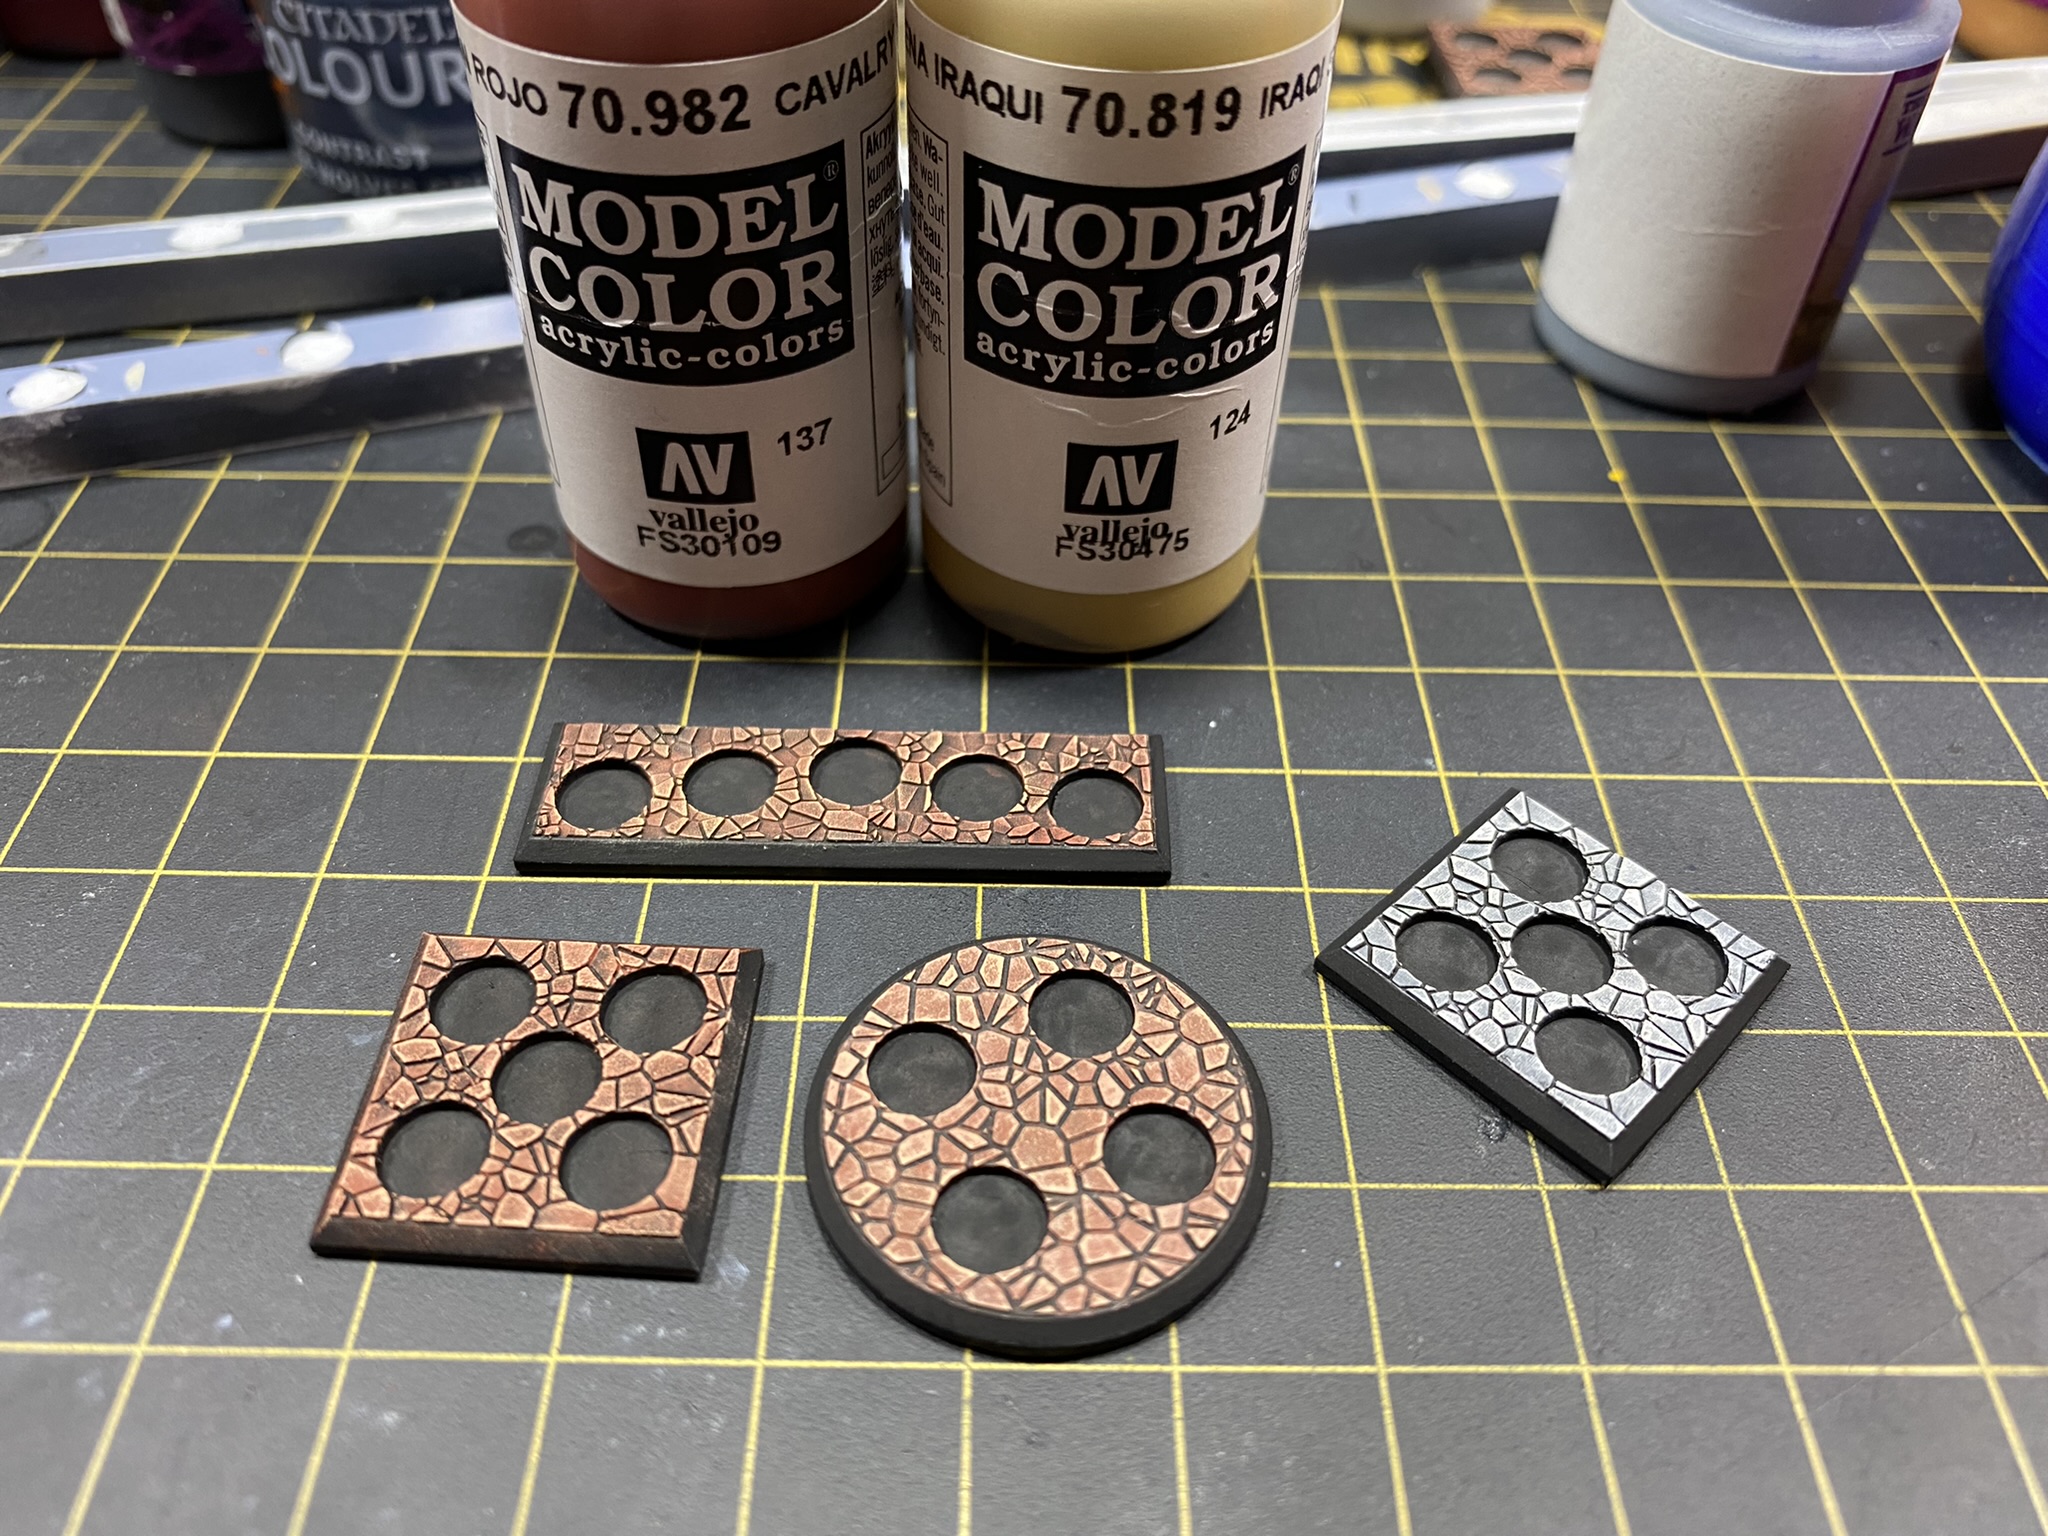
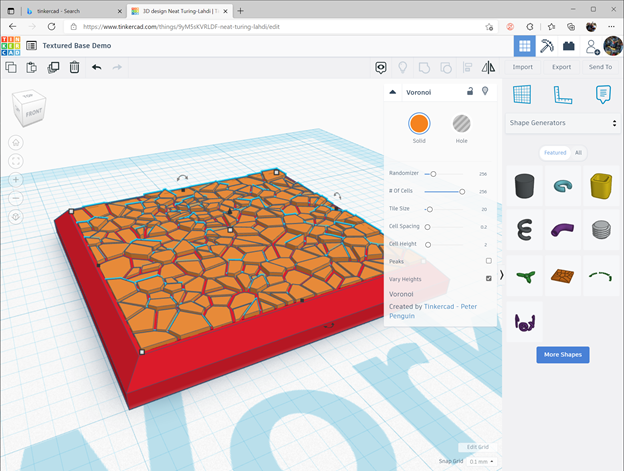
Now use the variables in the Voronoi dialog to make it look how you want. I like to max out the Number of cells, but use a value that gives you the scale you want. The Randomizer changes the pattern, so you can make different patterns by just changing the number. I leave the Cell Spacing at 0.2 for my bases, vary how you like. The Cell Height has been left default for this demo, that’s my default as well (since I change the texture’s thickness manually via it’s dimensions.) Click Vary Heights and boom, uneven ground!
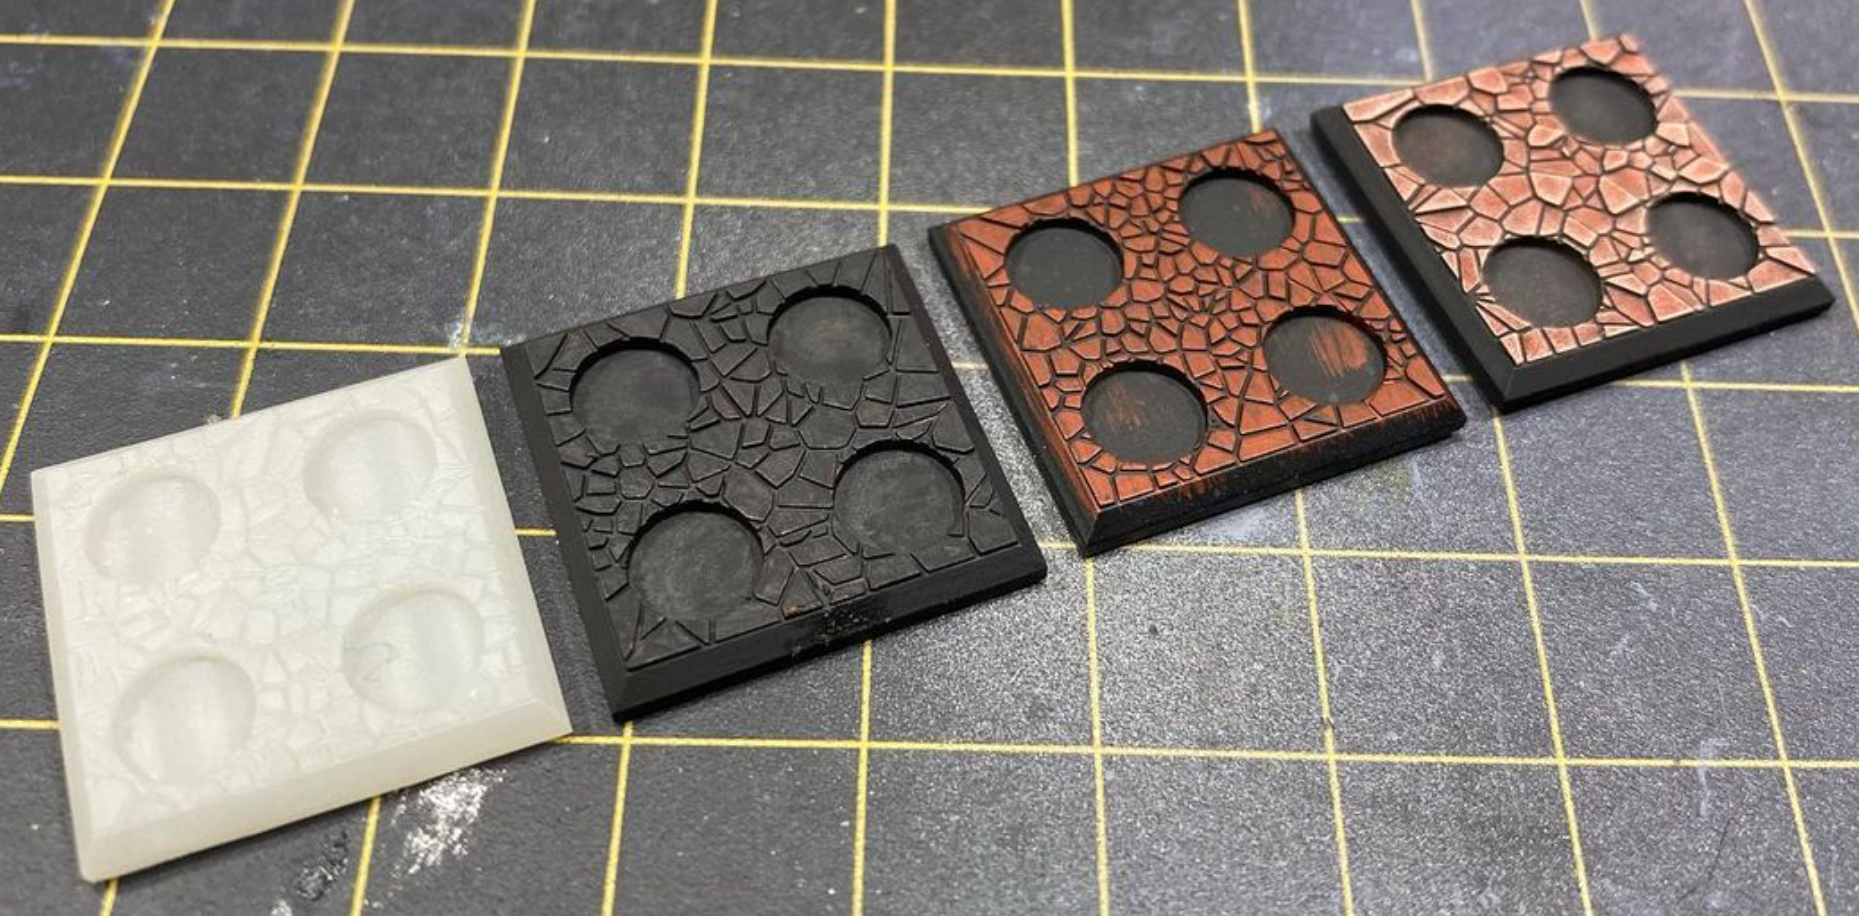
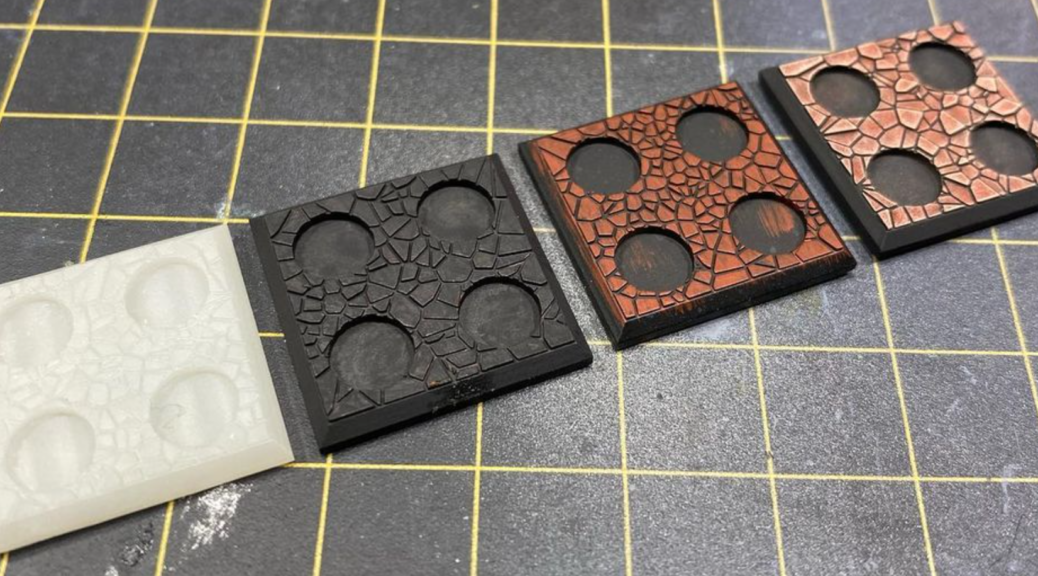
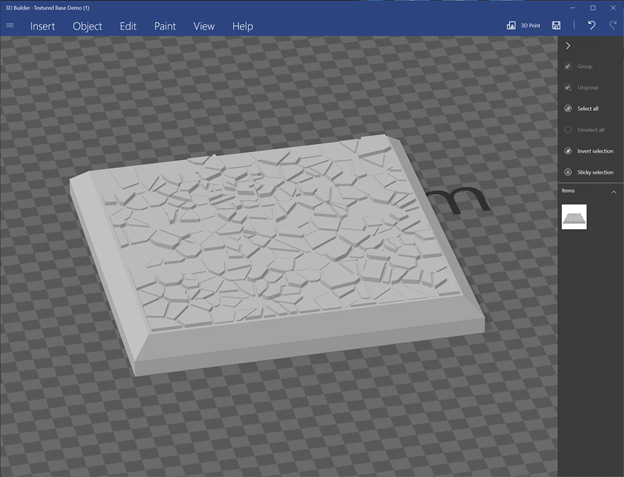
Now export your new base and print that sucka!
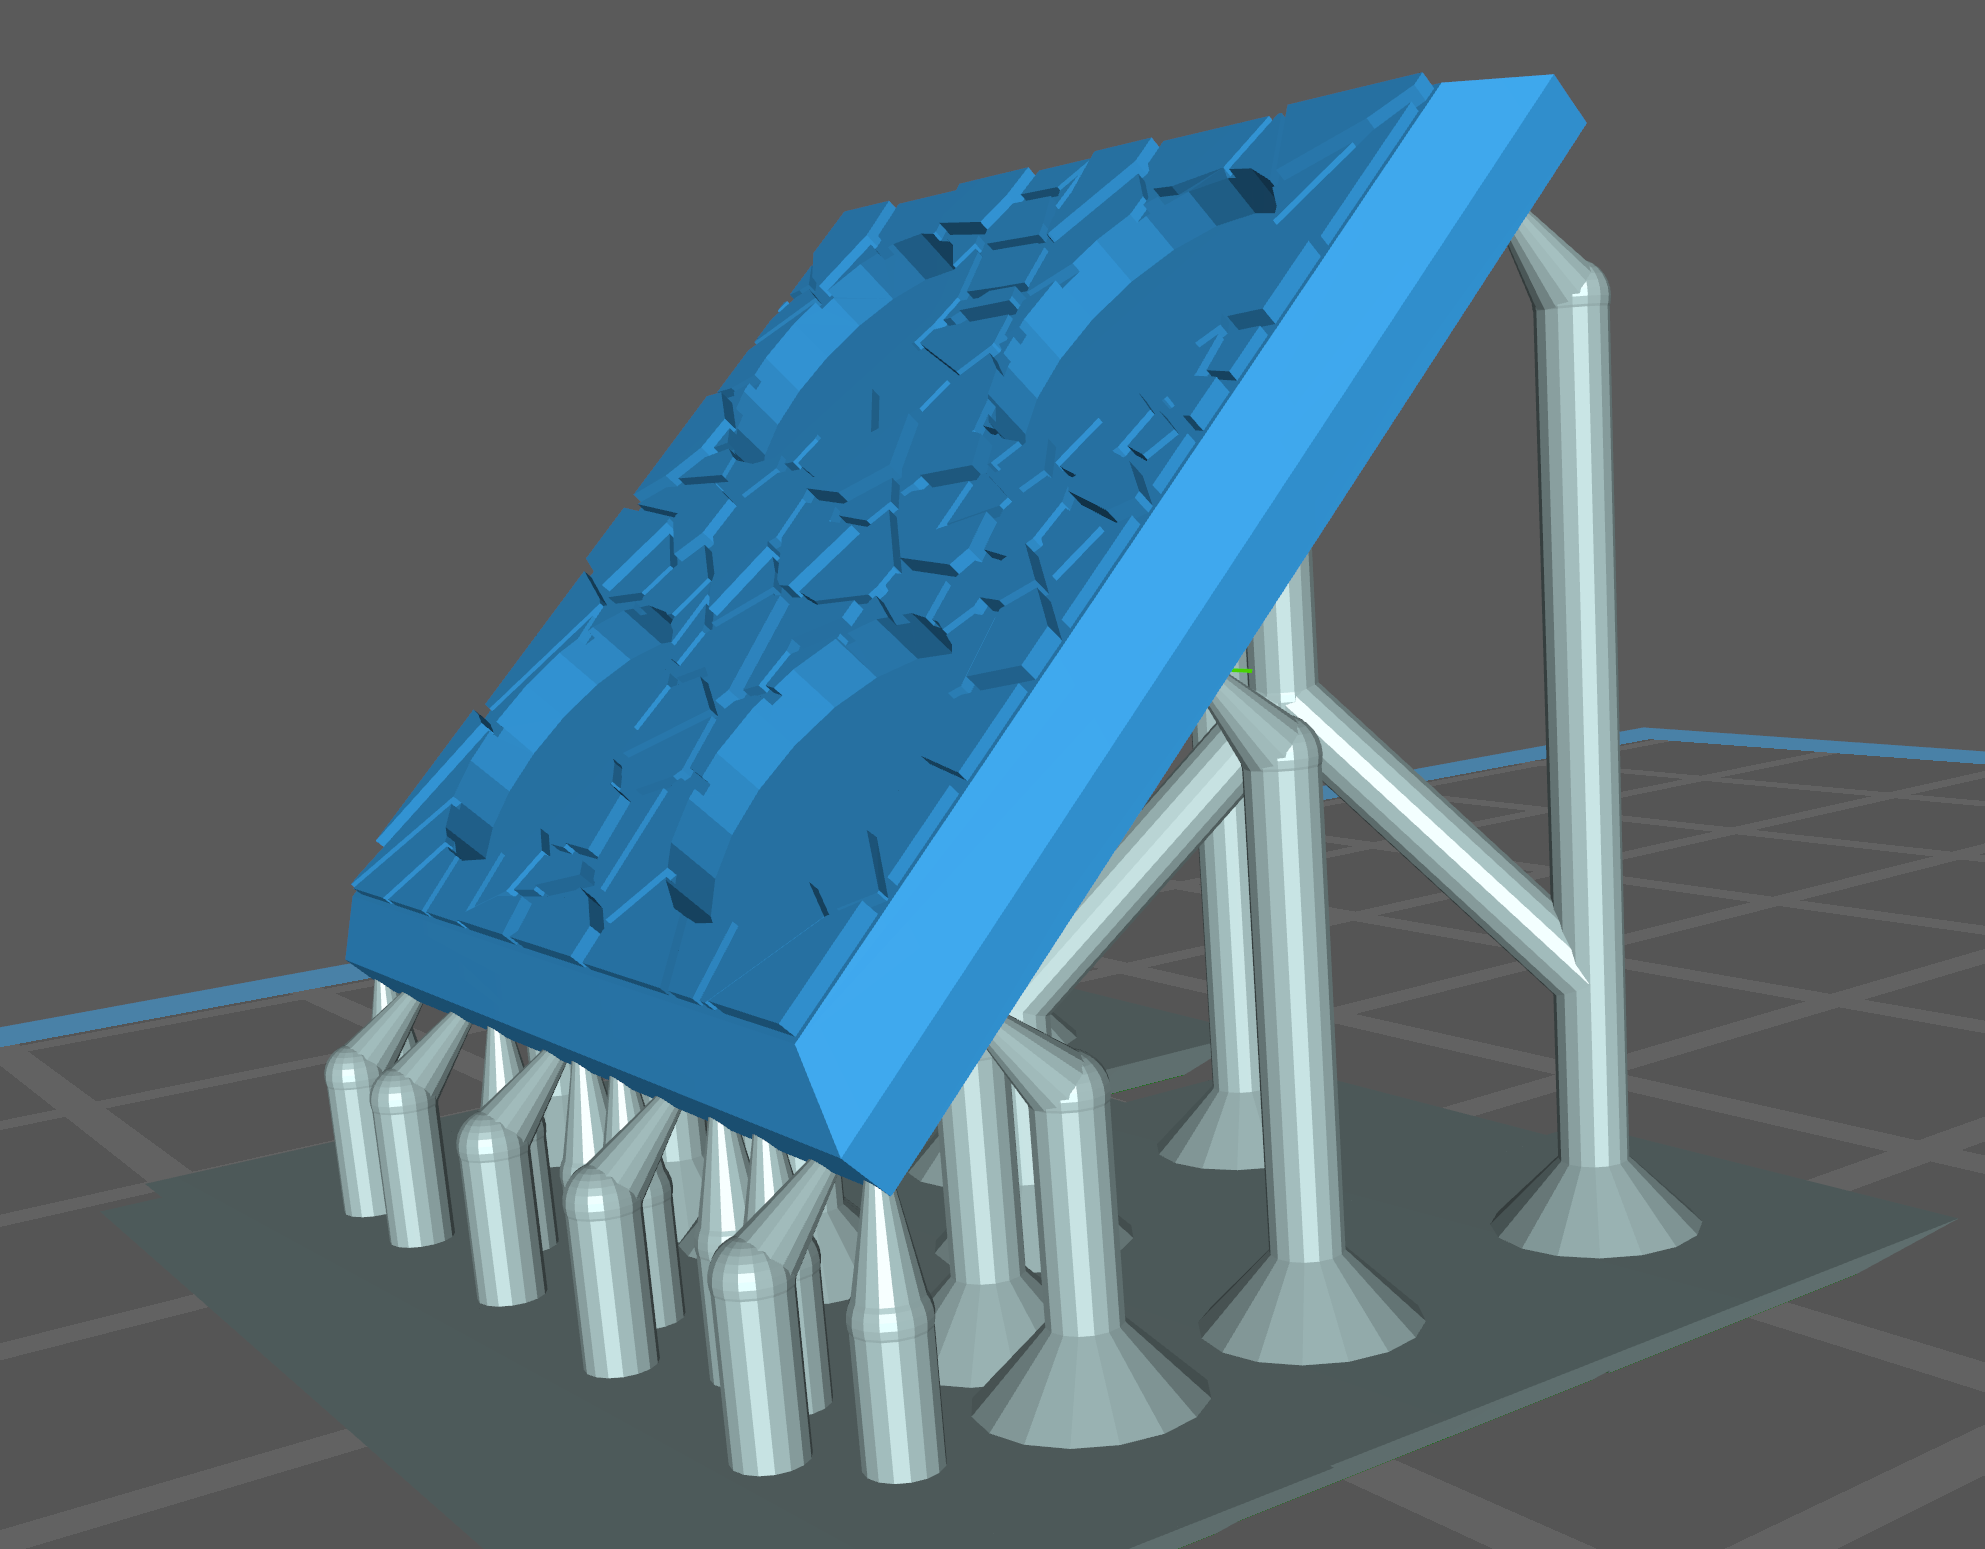
I print my bases at .05 layers at 45 degrees. The edge closest the build plate can flex a bit, so I add extra supports to minimize it. It’s not so much a problem with 20×20 bases but if you make larger bases it will become more pronounced.
If you want to make a base to hold troops, use the cylinder object in Tinkercad and make it a hole, then combine to cut out the mounts.
If you have any questions, leave a comment below or reach out on Instagram, and if you make some of these bases, post pics!